![]()
![]()
![]()
![]()
Bryan's Banjo Page
Here we'll be documenting the construction of an open-back old-time banjo for Mr. Bryan Jones of Atlanta, Georgia. For my other banjo work see this page
Thursday, October 14, 2010
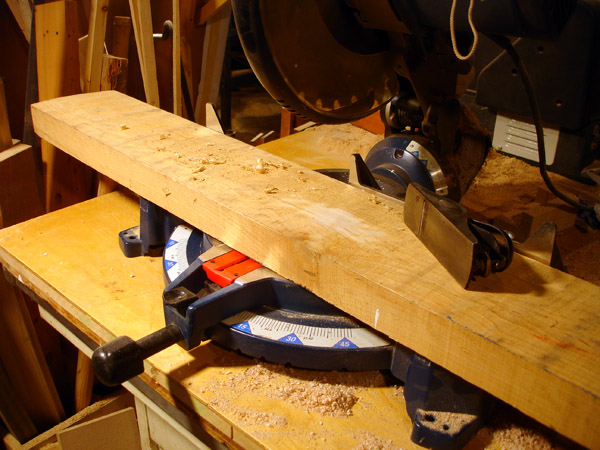
A giant slab of rock maple: where all banjos come from. I've planed an area smooth to see which part has the best figure for the neck and which part will be the rim core covered up by veneer.
++++++
Saturday, October 16, 2010
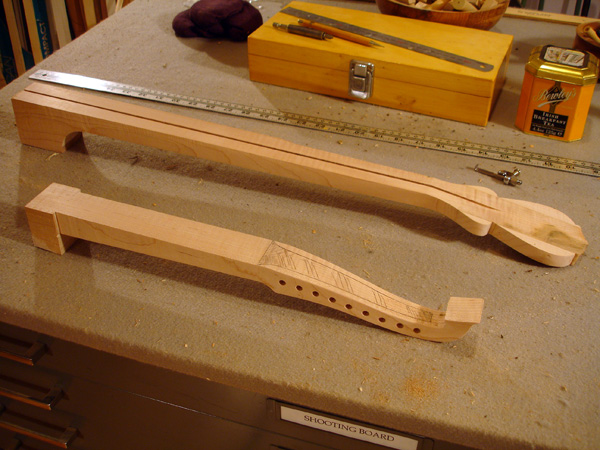
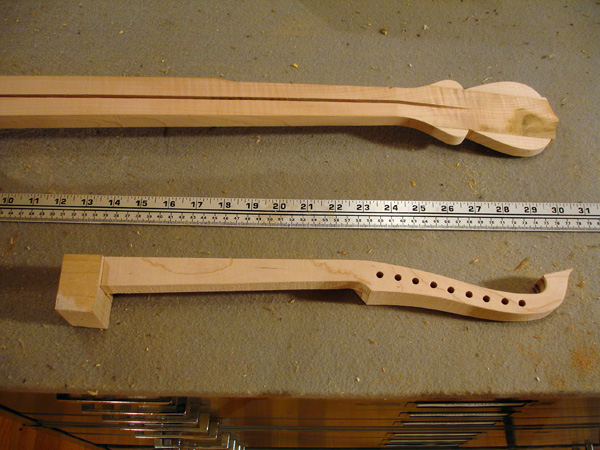
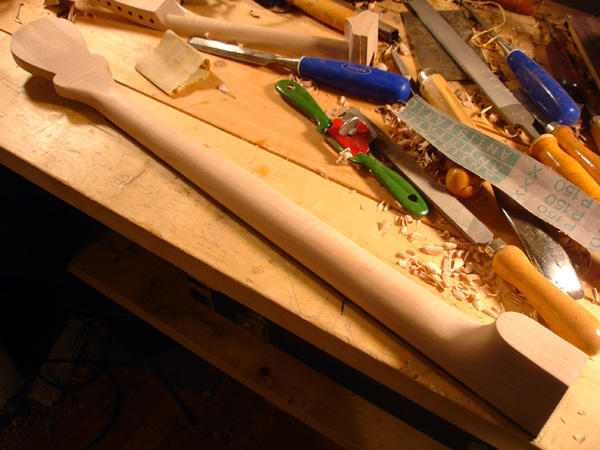
Here's the neck roughed out of figured maple. And a cittern neck to keep it company.
++++++
Tuesday, November 30, 2010
.jpg)
The carbon fiber rod is in place. Also the ebony board I will be using for the fingerboard and binding strips
.jpg)
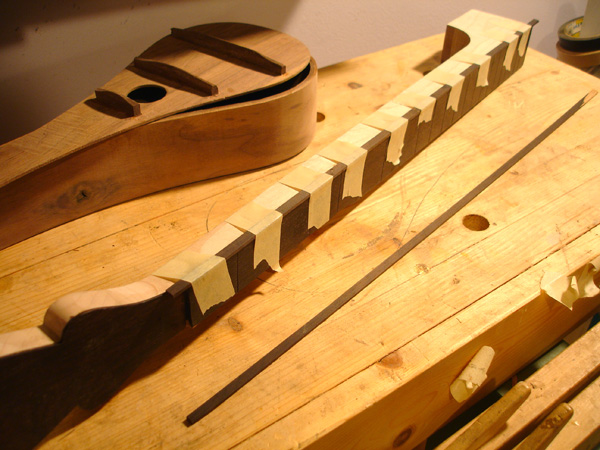
The finished fingerboard. The taper of the neck will just miss the sap wood on this piece

The form for my 11" banjos. I will be bending the 3-ply maple laminations around this after they are steamed. My previous banjos up to this point have been made with many (12 or more) laminations of veneer, and making a rim not as thick as is wanted for this instrumnet, so I have re-tooled the form to accept a thicker finished rim.
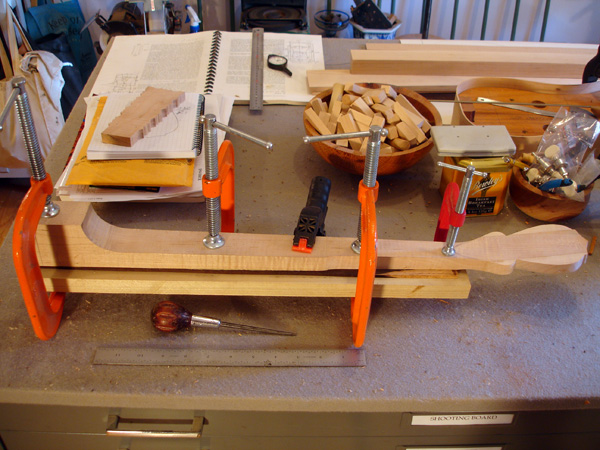
Gluing up the fingerboard and peghead veneer before the shaping of the neck.
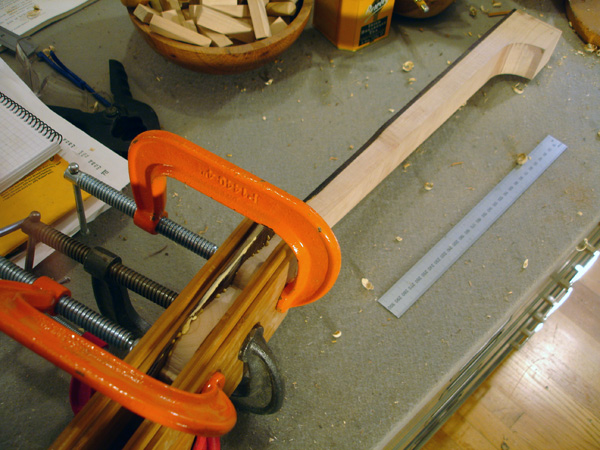
Gluing on the peghead veneer. I'll put pieces on the back as well to cover up the contrasting grain of the three pieces that make up the peghead. I'll wind up cutting the fret slots and routing and applying the ebony binding strips before shaping the neck. Live and learn! It's easier to hold a piece of wood in a vise if it is rectangular. And it took many instruments for me to figure out that binding a fretboard is easier before the frets are hammered in place.
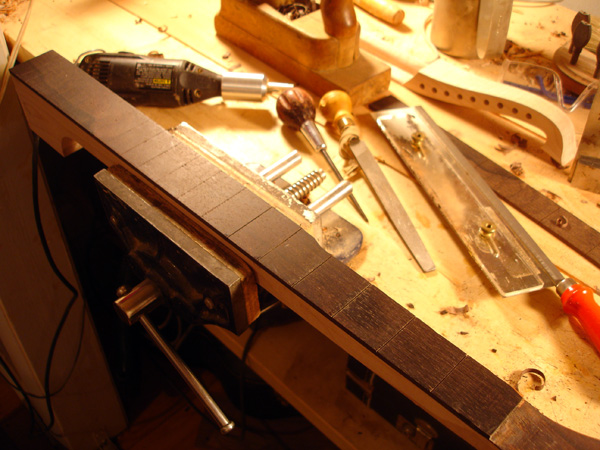
The fingerboard is trimmed flush to the neck and fret slot cutting is underway. After marking off the fret locations from a chart I use a scratch awl dragged along an adjustable angle gauge to create a groove for the saw to find. Visible is the dremel attachment for cutting the binding channel.
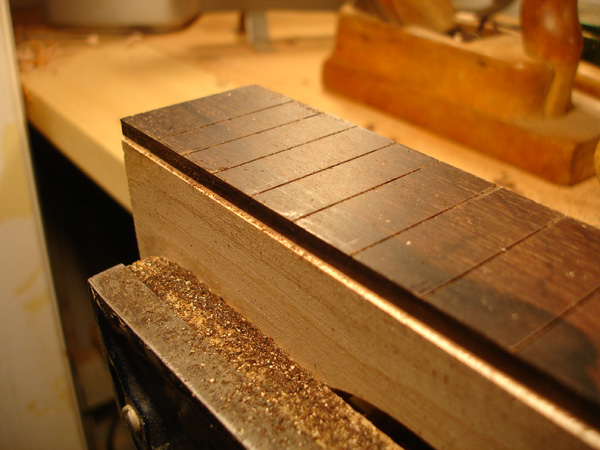
Binding channel cut
Gluing on the first ebony binding strip. Strumstick in progress.
++++++
Tuesday, January 4, 2011
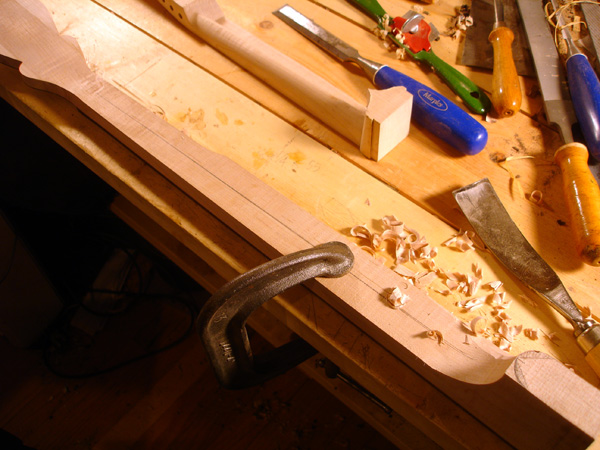
The bindings are on and the shaping of the neck begins at the heel

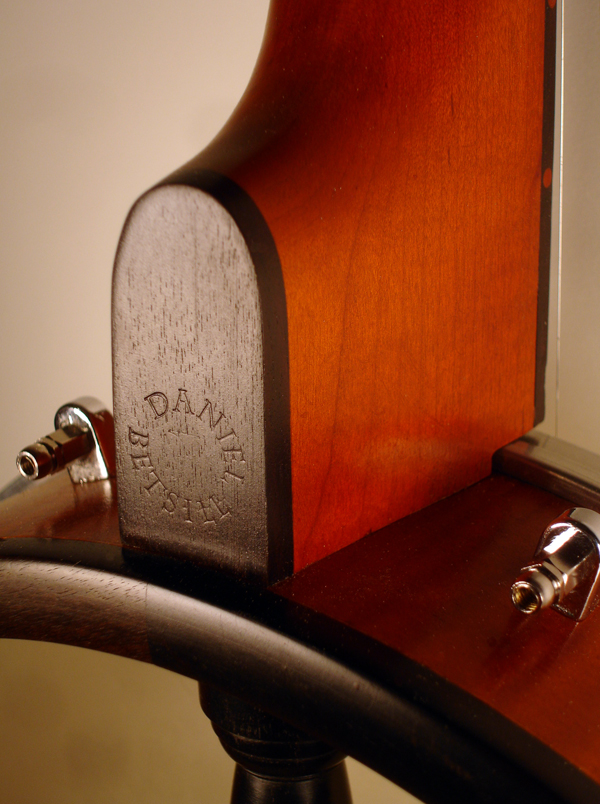
Detail of the heel carving
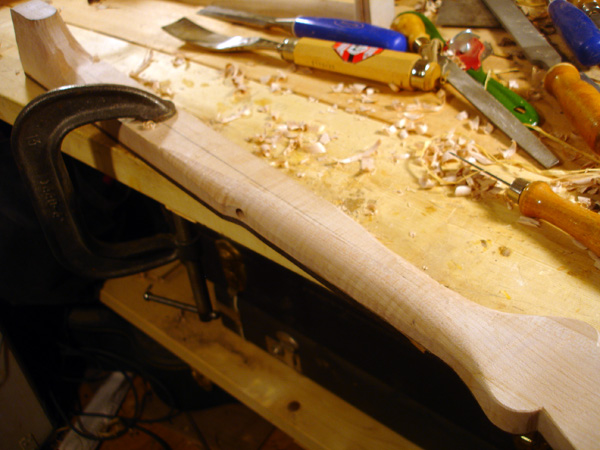
General shaping of the neck. Note 5th string hole is already tapped
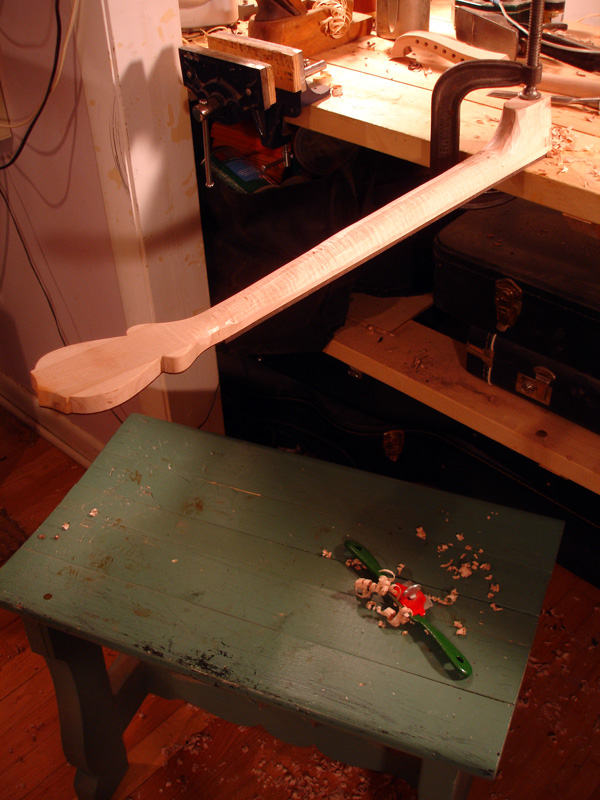
General shot of neck shaping with the drawknife
The neck is shaped and sanded. Time to get started on the rim.
++++++
Tuesday, January 11, 2011
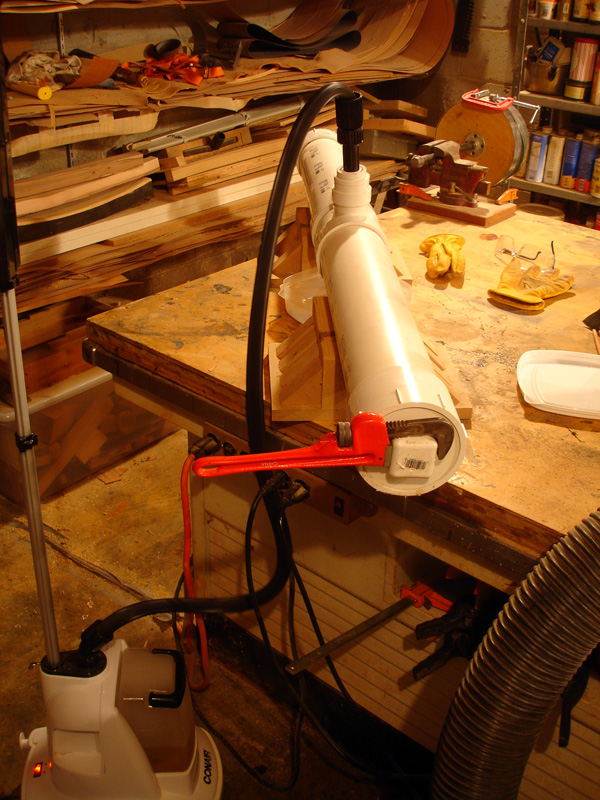
My steam "box". In the background is my form with the compression clamp around it
Attaching the outer layer of veneer the old fashiond way
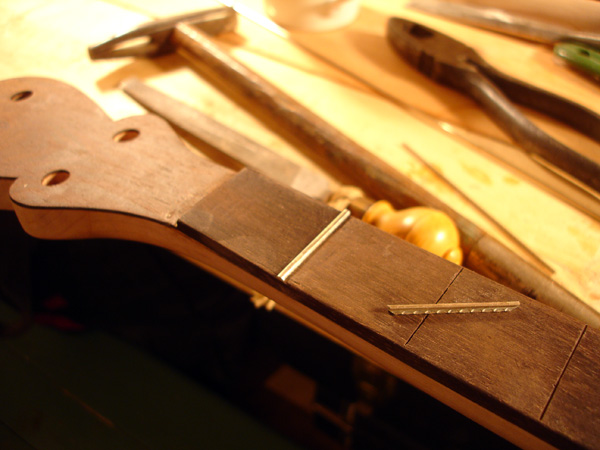
Meanwhile the fretting activity begins. Here showing the backcut to the fret tang to avoid the binding
++++++
Thursday, January 13, 2011
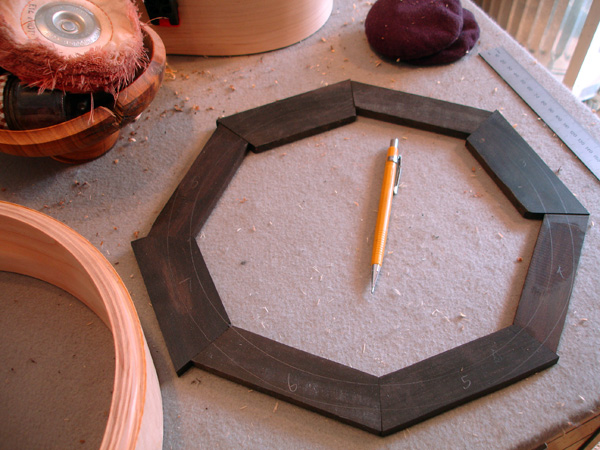
The ebony pieces for the rim edgeband are layed up
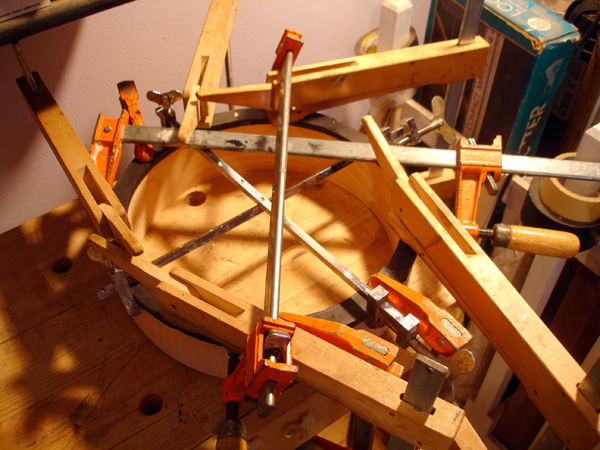
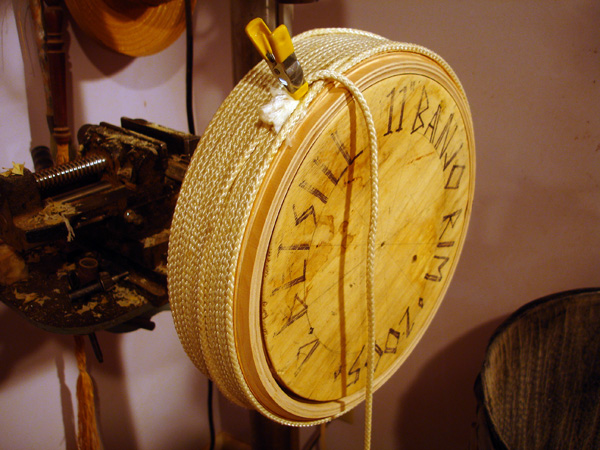
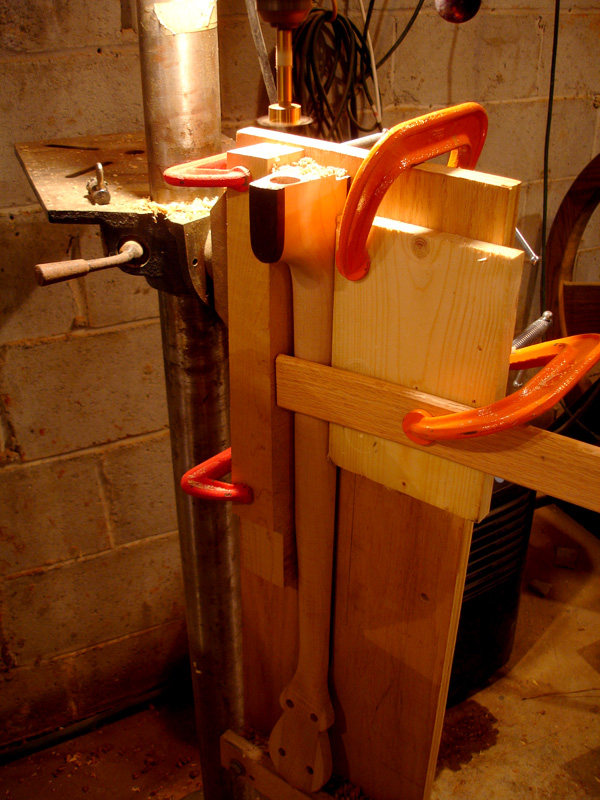
Clamping pressure in two directions on a round frame. There's really no easier way to do this.

Doing the final turning of the rim. My inside lathe doesn't have the clearance, so I have to take it outside. Full contact snow turning.
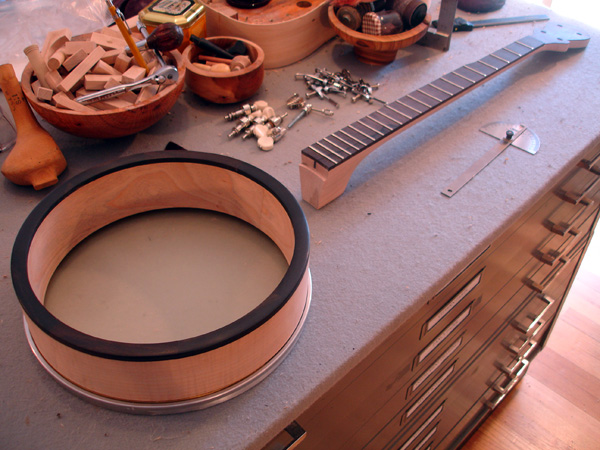
It's starting to look like a banjo. Time to start examining the hardware. The final piece to be made is the dowelstick
![]()
Roughing out the dowelstick from a 1 1/4" billet of ebony
++++++
Monday, January 17, 2011
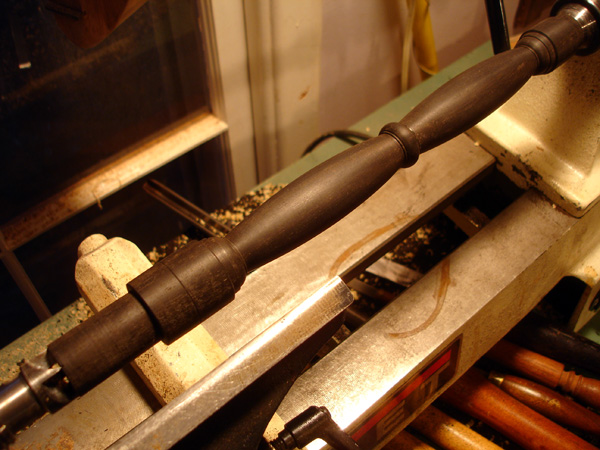
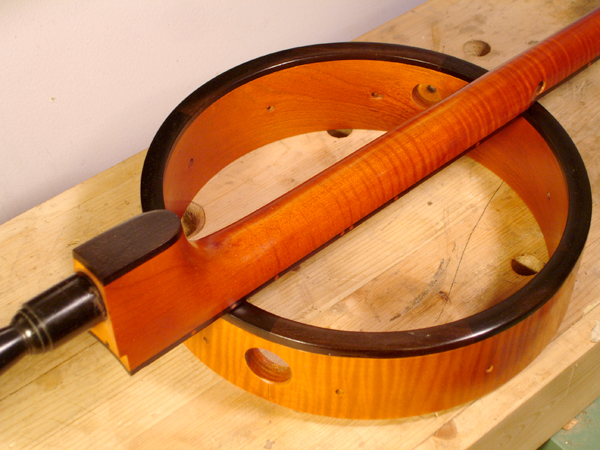
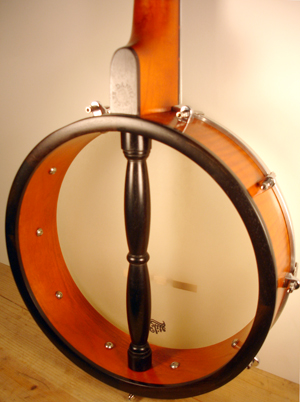
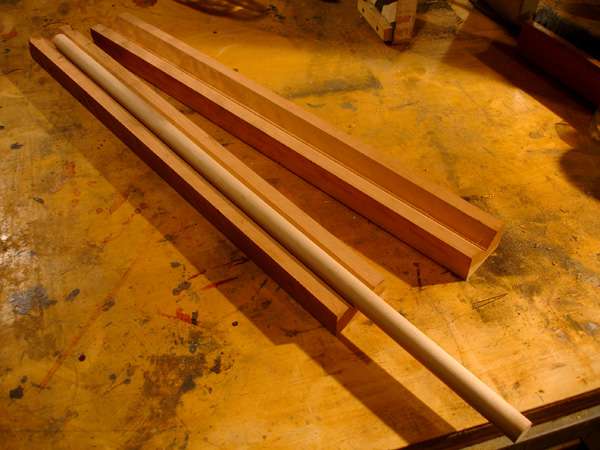
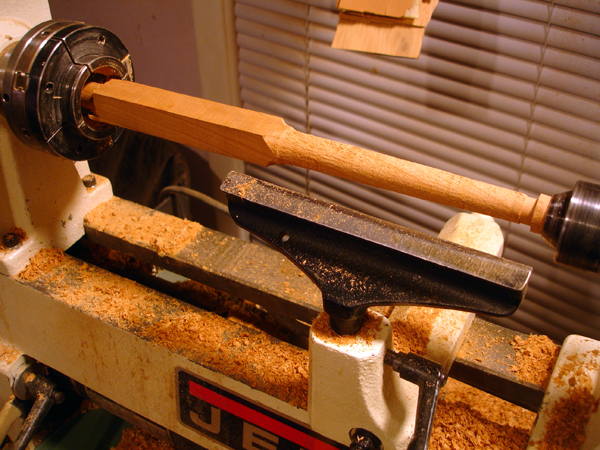
The dowel rod completed. The shape is inspired by a Victorian stair spindle design.
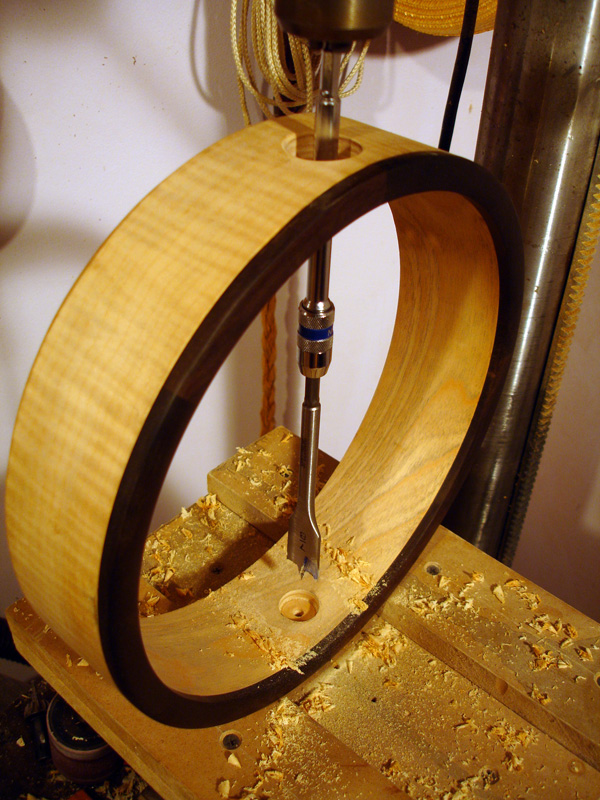
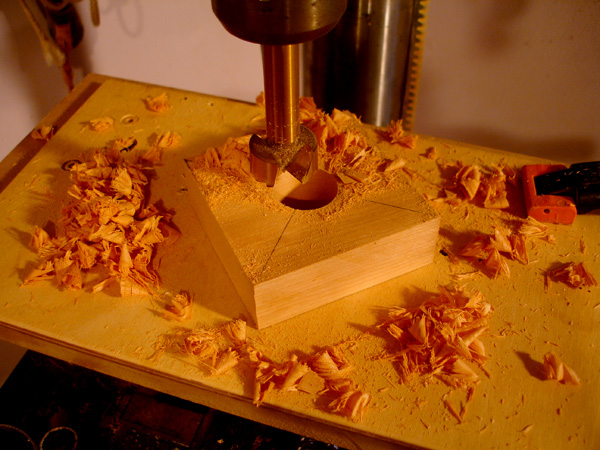
Drilling the holes for the rod. The tail end hole is a blind hole on this model. Usually my dowel rods extend through the rim for the attachment of a floating tailpiece tied on with gut, in the earliest manner. But this instrument will have a "No Knot" tailpiece for ease of maintenance
Tapping the hole for the dowel rod
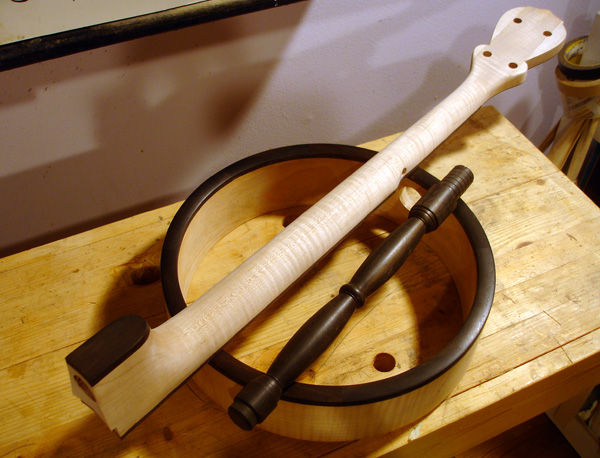
Dowel and neck are ready for assembly
++++++
Tuesday, January 25, 2011
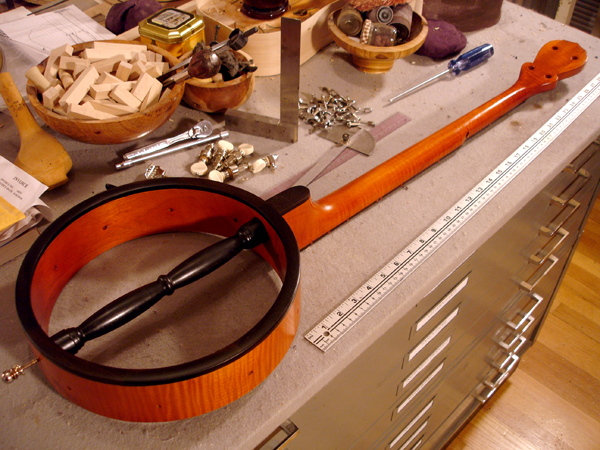
The finish is applied. This is three coats of aniline dye suspended in acrylic: an 80/20 scratch coat with more dye in the mix, a 40/60 bodying coat, and a 10/90 top coat which allows for some final shading. It will get buffed and have a thin wax top coat. The color is a nod to the early instruments I have seen that were finished with orange shellac.
++++++
Monday, January 31, 2011
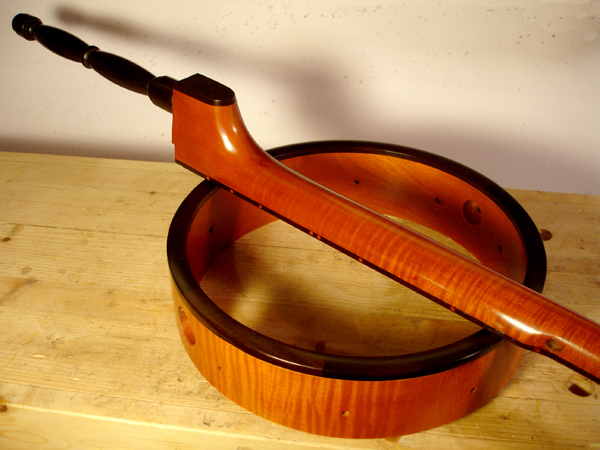
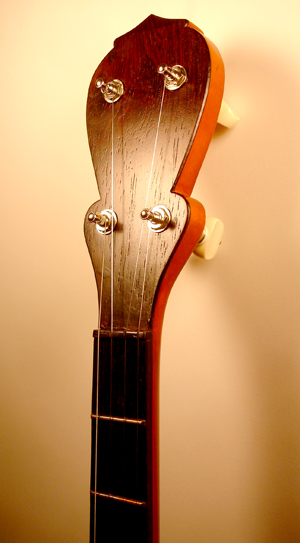
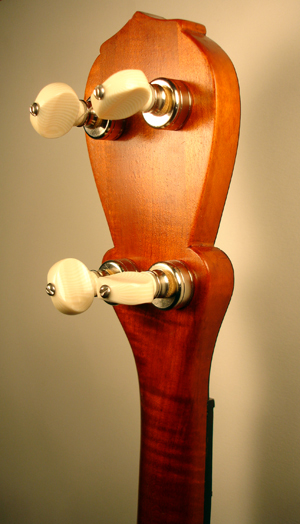
A couple of shots showing the finish before assembly
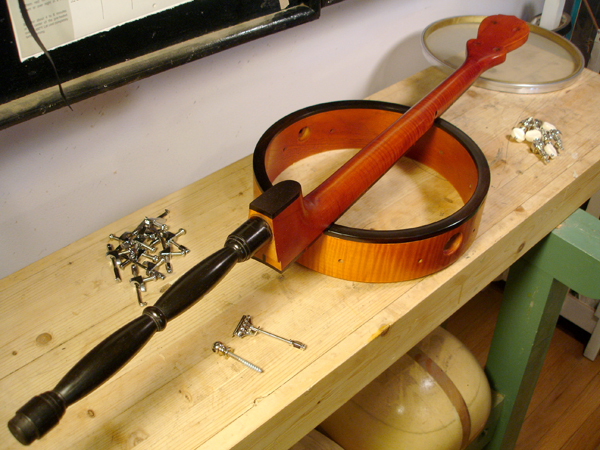
The hardware: a No Knot tailpiece with woodscrew anchor which will hold the dowel tight to the rim, 10 brackets for that slacktop oldtime sound, and Stewart MacDonald's 5-Star planetary tuners with ivoroid heads, and in the distance the Elite Amber head, solid brass tone ring and aluminum counterhoop
++++++
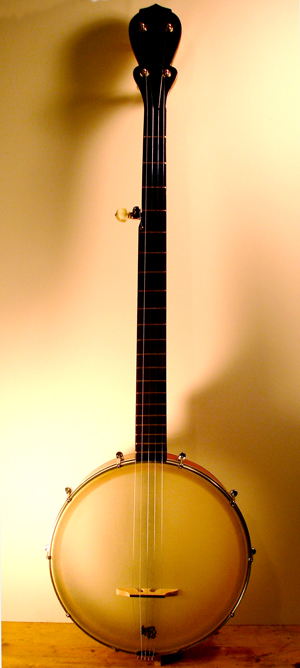
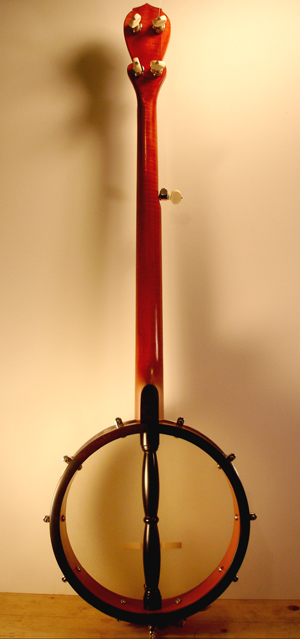
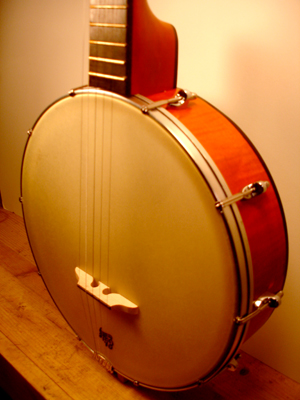
The finished instrumnet

++++++
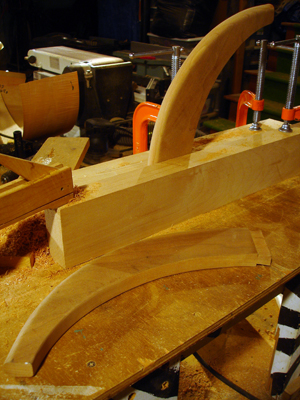
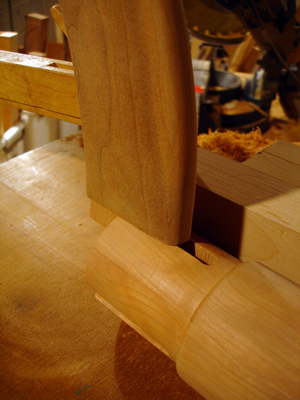
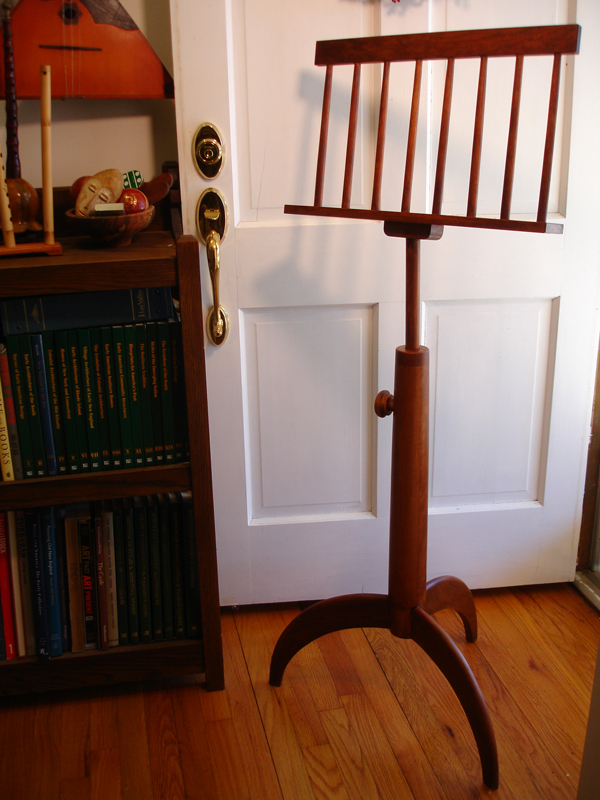
And now for something completely different. . . a Shaker style music stand
.jpg)
.jpg)
.jpg)
.jpg)
.jpg)
.jpg)


++++++