Organ Surgery
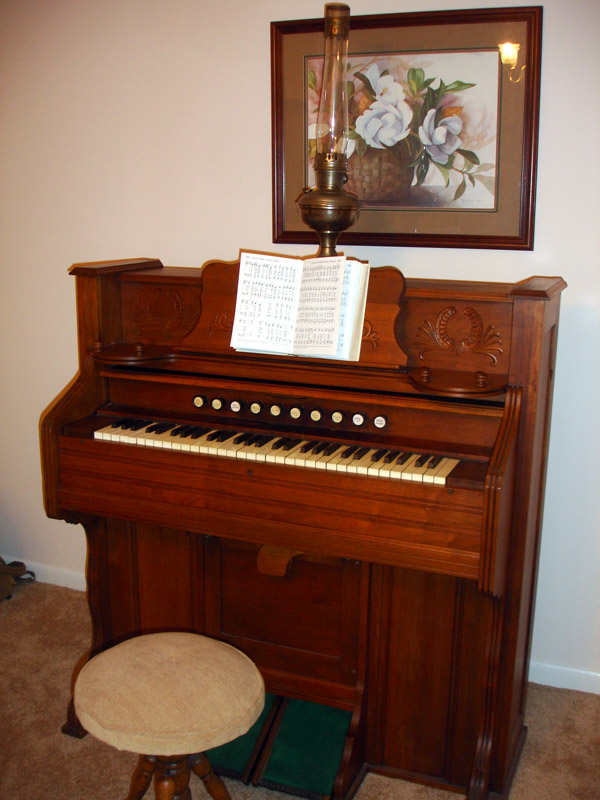
Restoration of a 1902 Estes Reed Organ. My wife and I are restoring this instrument which has been in her family since purchase. It is in pretty good shape despite not playing. But after disassembly we think this is because of some few cracks that have opened up in the soundboard which can be easily filled. The bellows have a couple of obvious leaks that can be repaired without replacing the entire bellows. The keys, reeds, stops, and linkages are all in excellent shape. Following are our disassembly photos in reverse order.
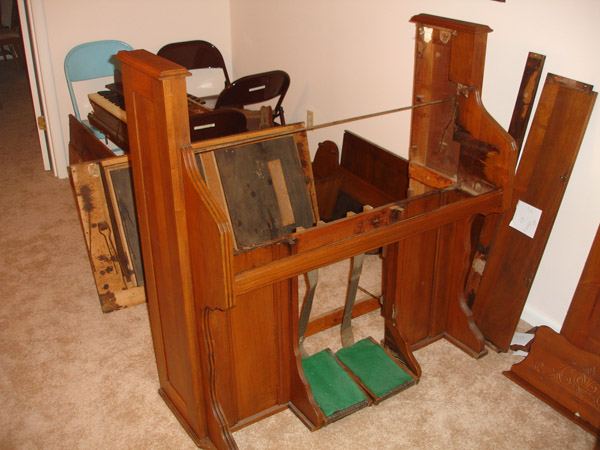
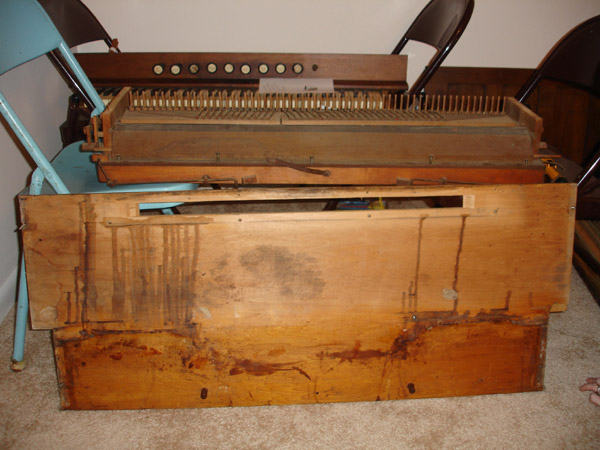
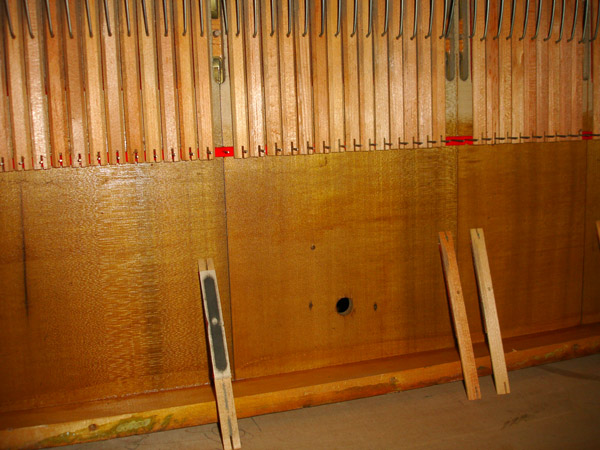
The key and reed assemblies are laying on chairs in the background. The upper casework panels and music stand are propped against the wall. The bellows assembly is just behind the case leaning against the chairs.

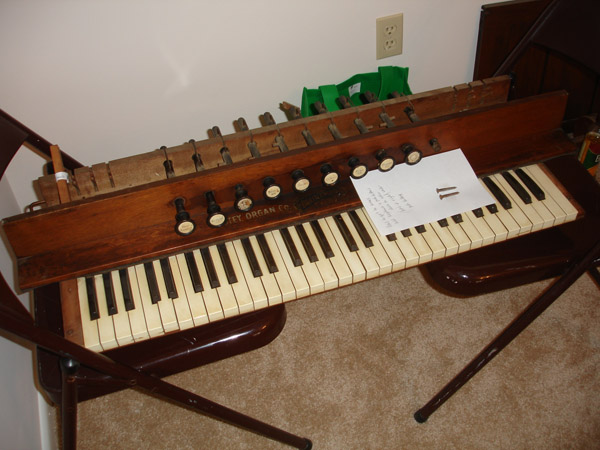
Key and reed assemblies
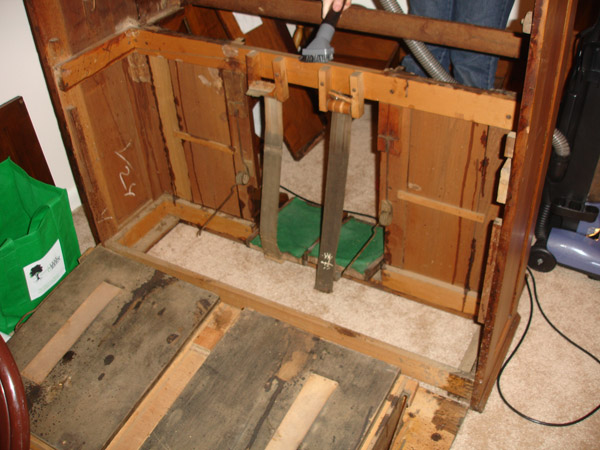
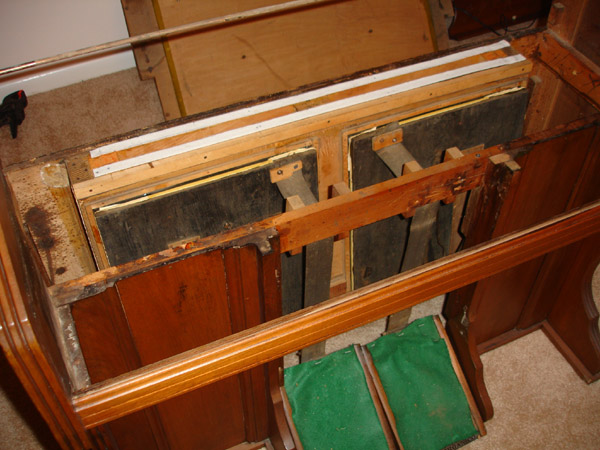
Bellows assembly removed and laying on it's side
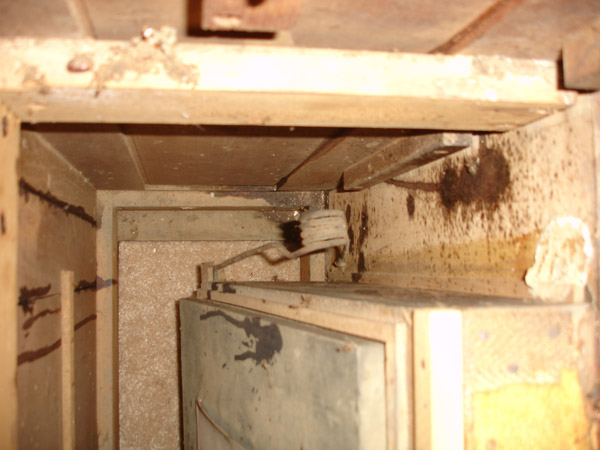
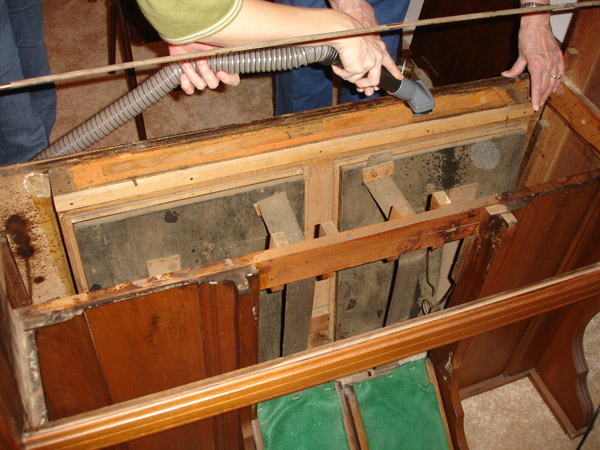
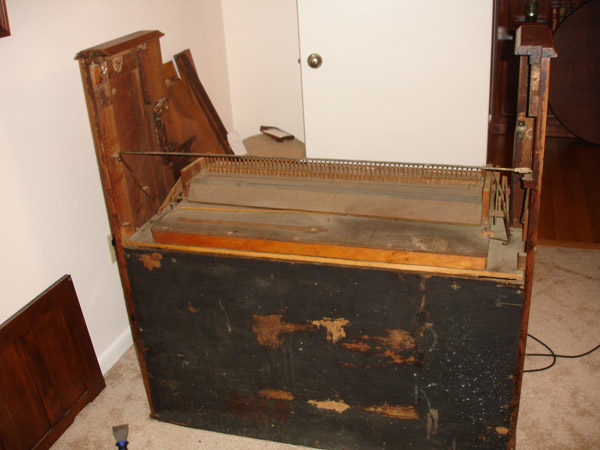
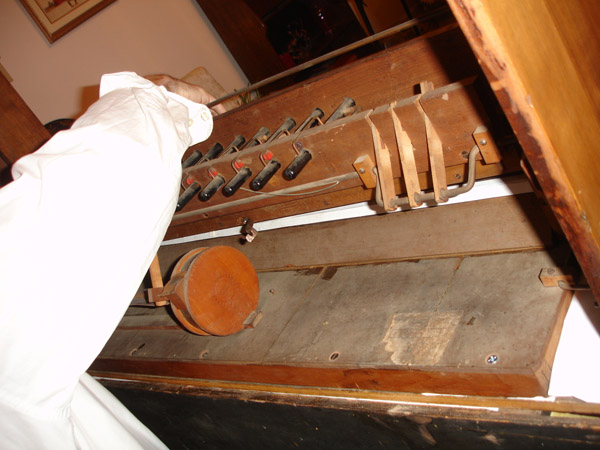
Looking down into the bellows chamber
Reverse view looking up into the bellows chamber from the bottom of the organ
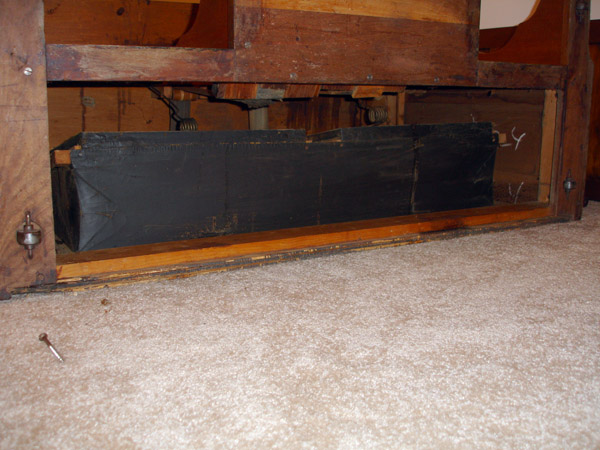
Same, from a distance
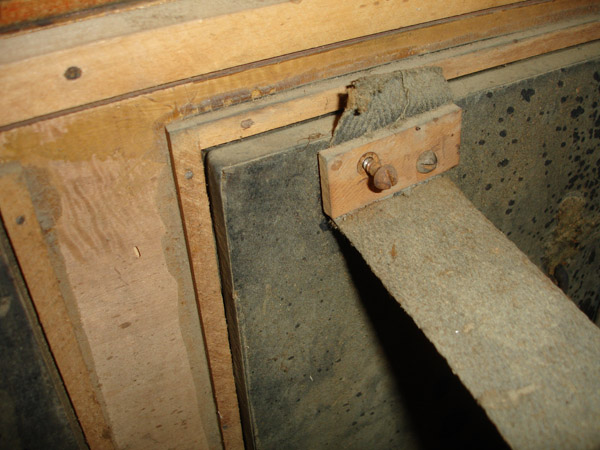
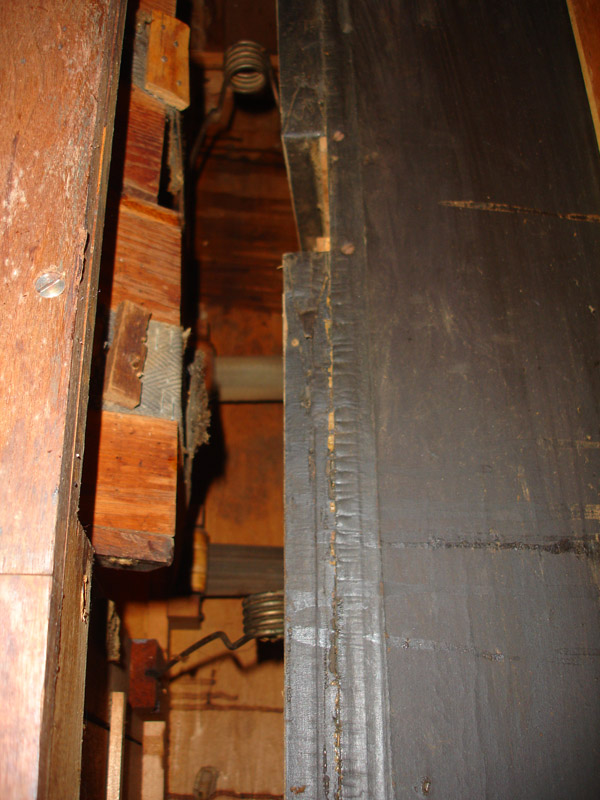
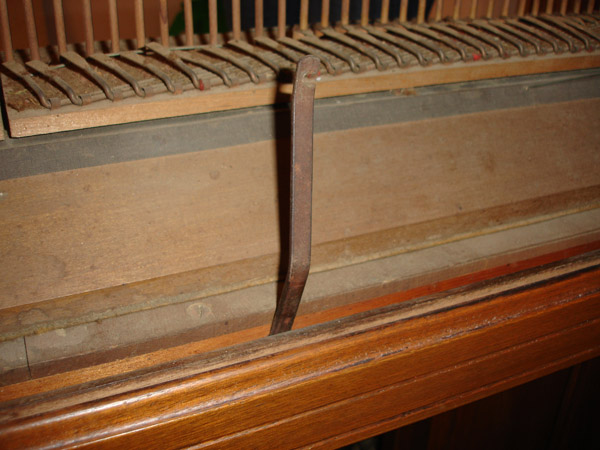
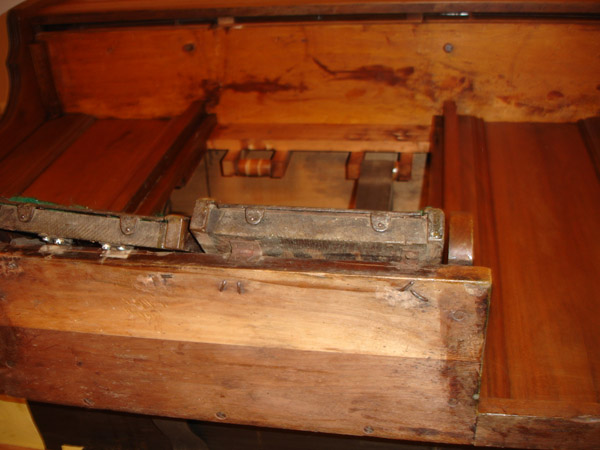
Cleat holding the pedal straps to the back of the bellows
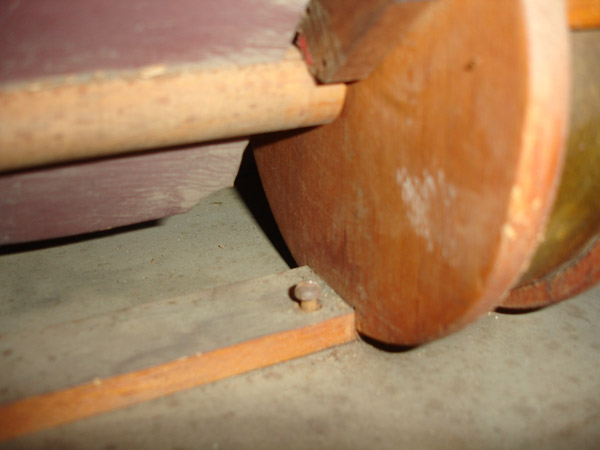
Bellows in situ before removing. The reed assembly base plate has been removed
Reed assembly base plate removed, looking at underside
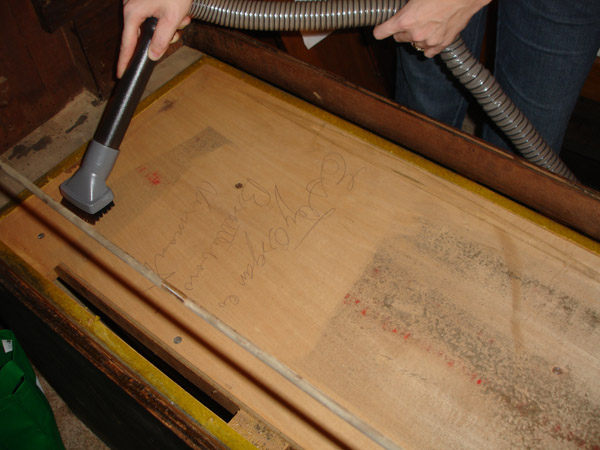
Reed assembly base plate in situ with reed assembly removed. Note pencil writing of manufacturer.
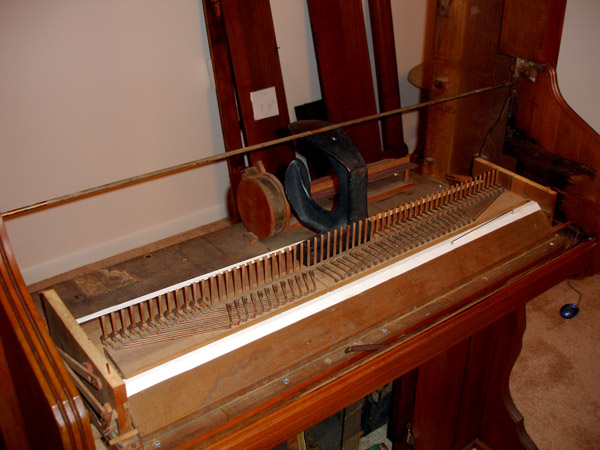
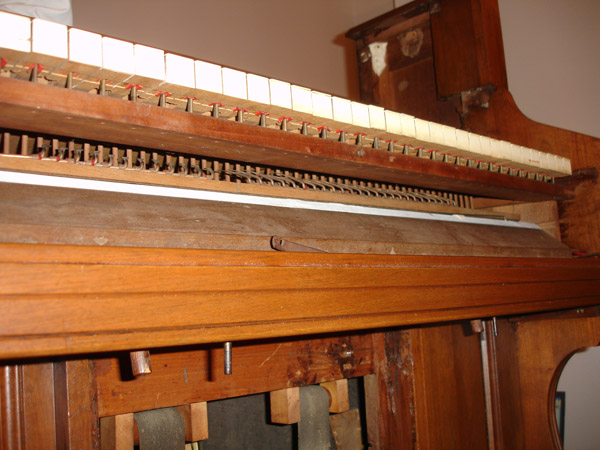
Key assembly removed exposing reed assembly
Key assembly removed
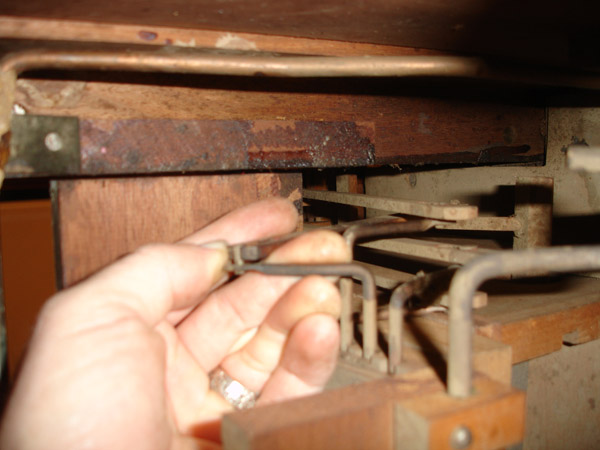
Showing linkages between stops and reed assembly
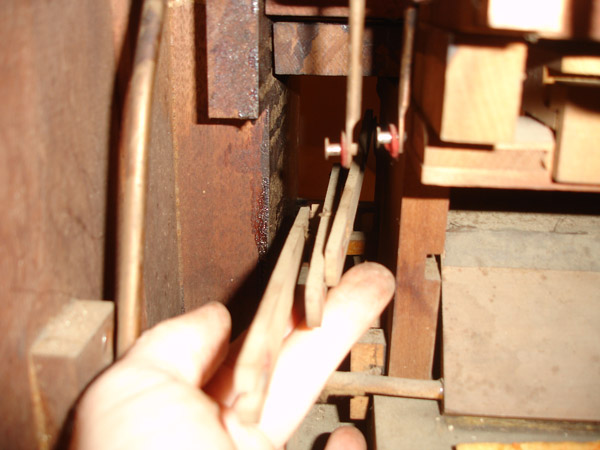
Same, being removed on other side
Holddown between reed and key assemblies. There is one front and back,
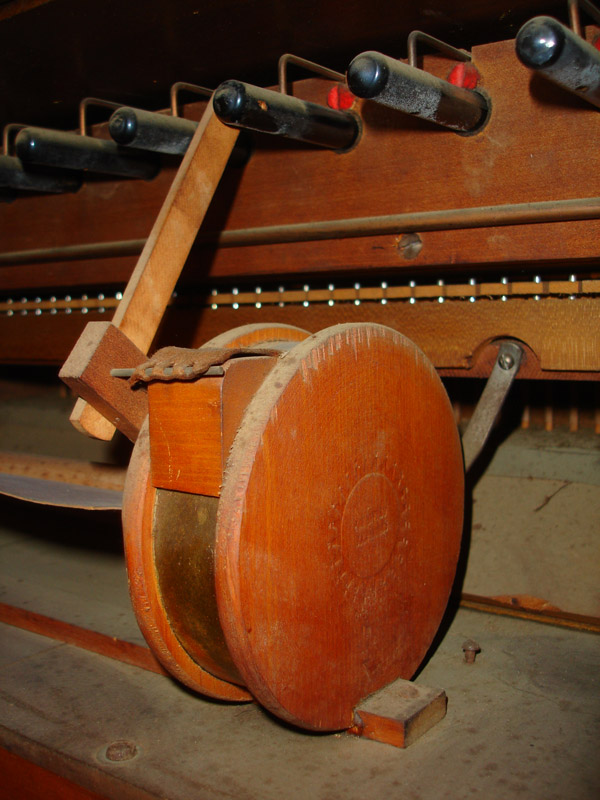
Tremolo unit in situ sitting on reed assembly
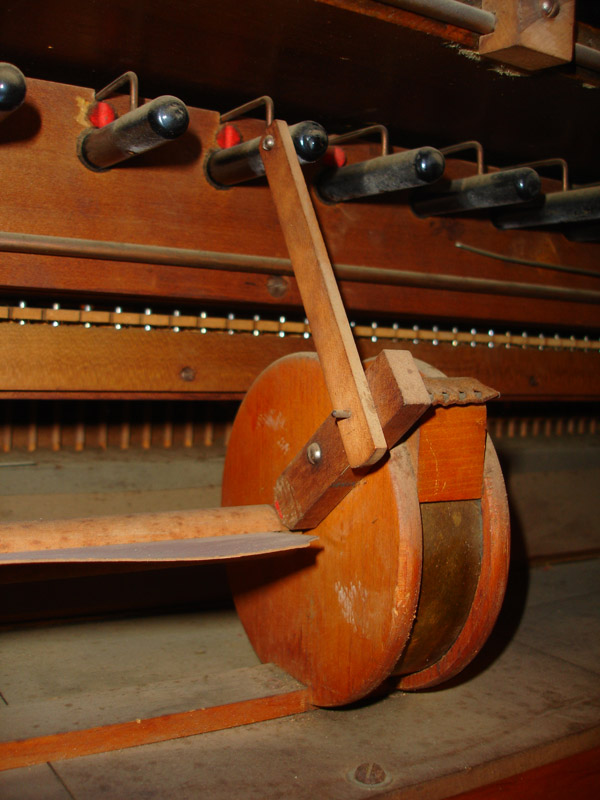
Same, other side
Tremolo unit screwdown
Tremolo stop linkage
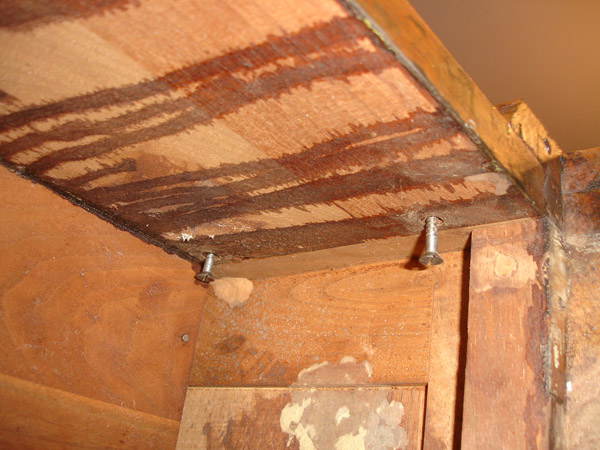
Upper casework screwdown. Note unit rests on pegs
Further upper casework screwdowns. The upper shelf slides out of the back after these are loosed.
Key cover arm rear holdfast.
Music stand pinion.
+++++
Following are images during restoration. The primary occupation was repairing the leaks in the bellows with chamois and "tear mender" glue. And much cleaning, including the eviction of a dirt-dobber's condominium.
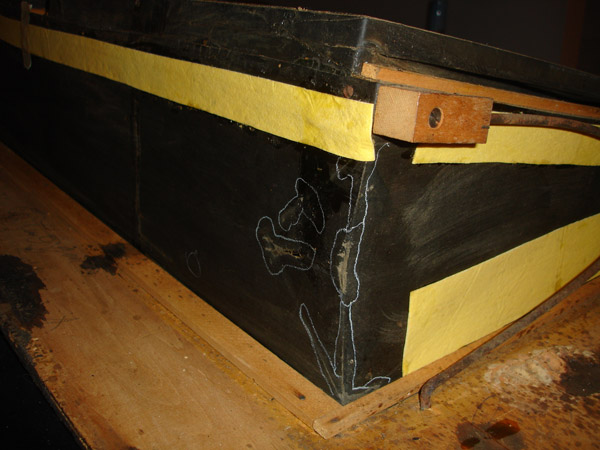
Shannon has covered the crease between the main bellows and the platform which had so many cracks it made sense to just run a strip of chamois across it. Outlined in chalk are spots to be treated.
Replacement linen tape across a damper hinge
Besides the bellows, the other obvious air leak was in the valve plate, at the joints between the butt joined boards. She had to remove some of the valves to do this and we saw the decades of coal dust on the leather pad.
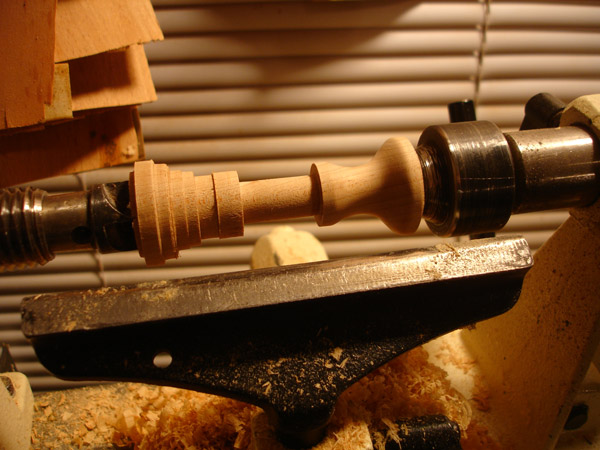
I got to do a little turning, replacing one missing knob. Workshop tip: always make two of anything replacement, increasing your chances by 50% of it fitting properly.
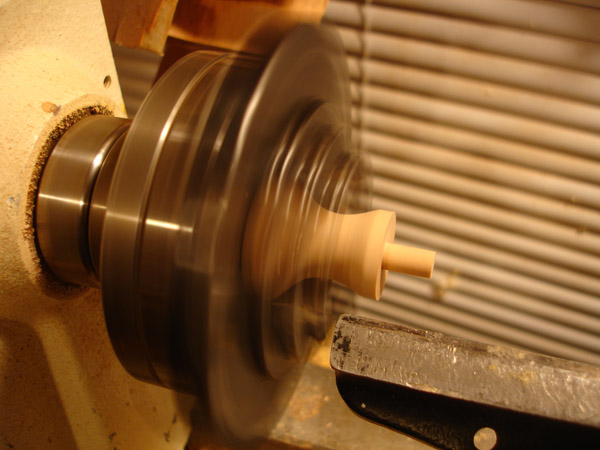
I couldn't figure out how the knob fit on to the stop dowel. It looked like it was just butt-joined on there. The extant knobs had a small hole tapped all the way through suggesting there was a small central dowel that ran into the stop shaft, but the one that was missing had no broken-off dowel centered in it. Anywho: I turned a 1/4" dowel on the end and tapped a hole in the end of the stop shaft.
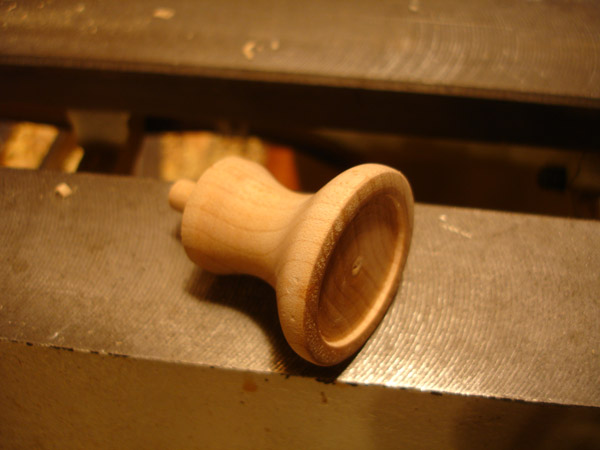
Finished knob, awaiting ebonization.
+++++
Following are images of the reassembly.
Before putting things back together we had to take care of the one problem that was left behind: the pedal straps and rollers were in need of attention too.
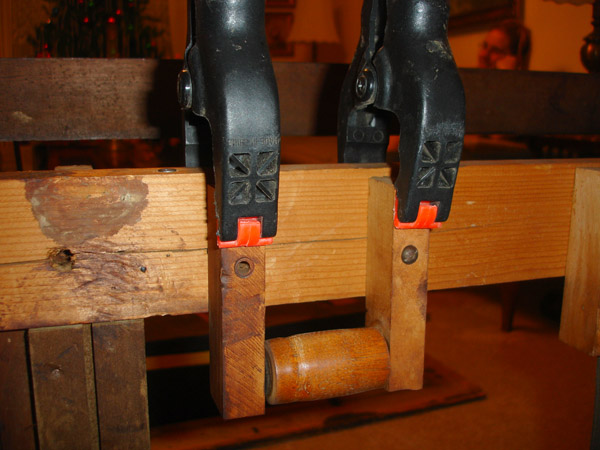
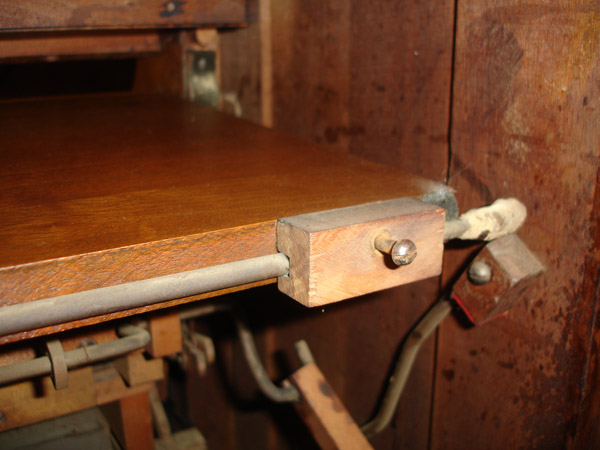
One roller assembly was barely hanging on due to a crack in the rail. A slight repositioning with well-tapped guideholes solves this.
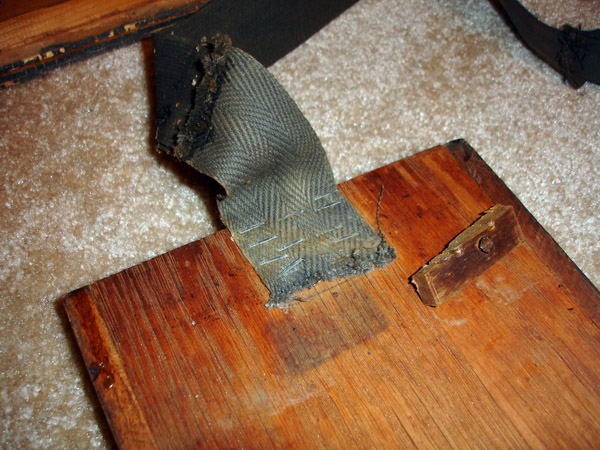
The straps were rotted and need to be replaced. This one was already spliced from a previous repair. There was a well-worn cleat which was vestigial considering the fanatical stapling.
Reusing the cleat at the top of the exhauster bellow. Ornery malevolent 1902 flathead screw, modern drywall screw. I am so sick of slotted screwheads after this job. May we pause for a moment of quiet admiration for Mr Phillips.
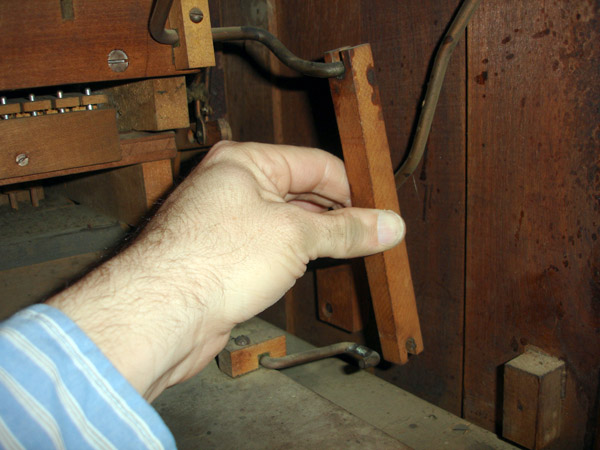
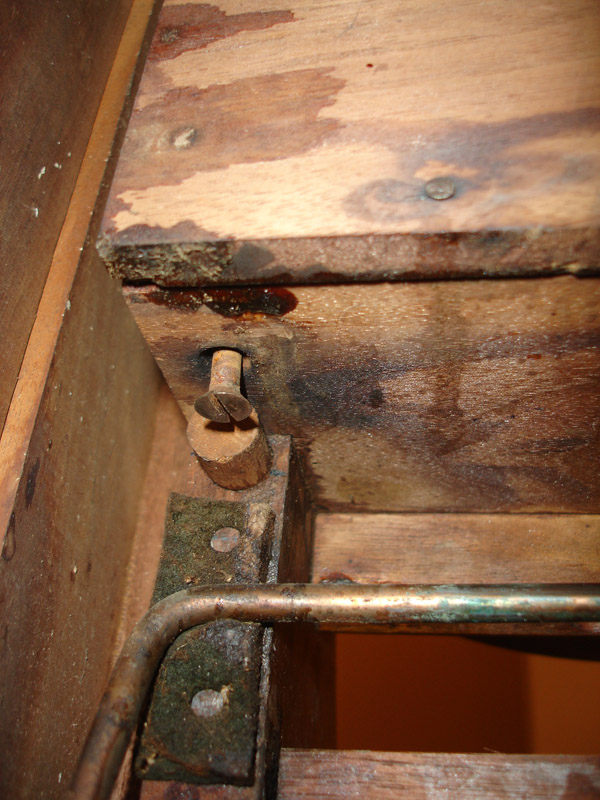
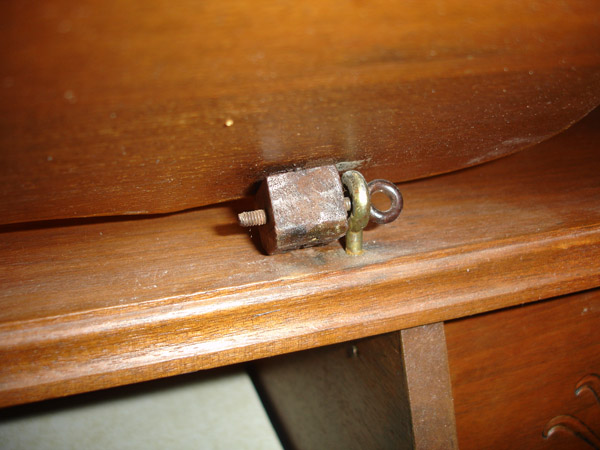
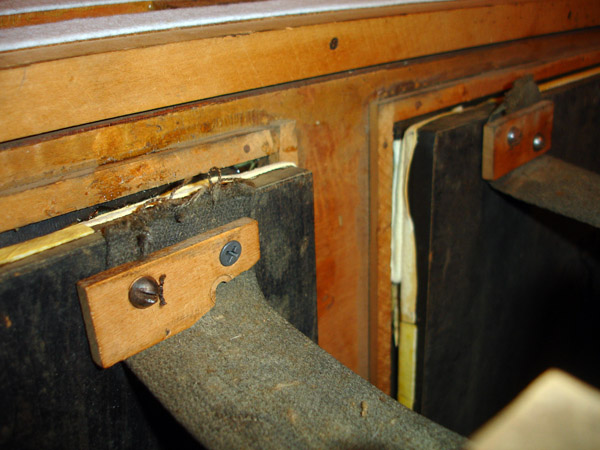
The pedal hinge situation on this instrument is a story over which we can only speculate. They have both been inflicted with modern-ish butt hinges, but the original - I don't know what you'd call them - strap hinges - are still in-situ on the right hand pedal. They are metal straps screwed to the underside of the pedal and wrapped around a sort of staple which you see protruding through the bottom of the toe rail of the cabinet. Anyways, it was a good opportunity to correct the haphazard placement of the more-recent butt hinges, visible on the left-hand pedal. Judging by the many holes tapped into the rail there were several generations of hinges intended to replace the originals.
The bellows are back in place, new gleaming white gasket felting clearly visible. The green felt at the pedals is, needless to say, not original and will be replaced at some point by Shannon's needlepoint.
Next step, screwing down the bellows platform.
The octave coupler goes on top of that. If you see a foreign implement here, that's a shoe iron used as weight to hold down a glue job to a central damper block. So central it is out of the reach of any clamp known to man. But this was a good dinner break.
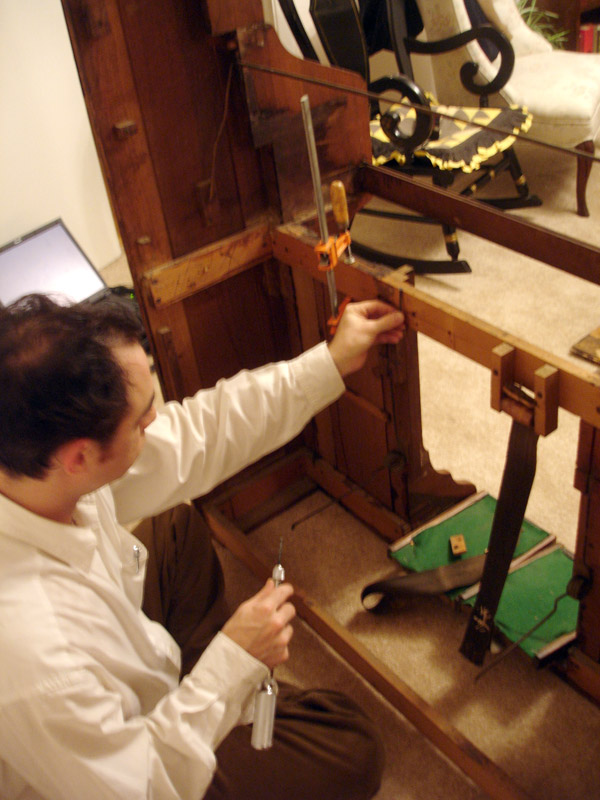
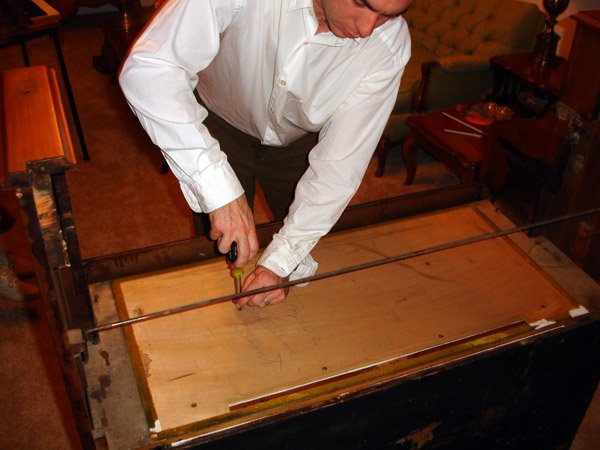
Next is the key and stop assemblies. Here I'm trying to figure out what linkage goes to what stop. You could consult a book for this, but it's much more exciting to do it by trial and error. Note some modern screws holding down the valve plate. After making a run to Lowe's we discovered the original screws safely hidden in our supply bag.
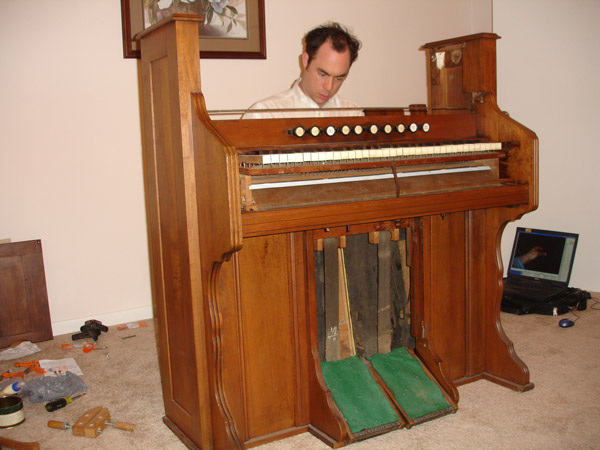
In mid frustration. I mean restoration.
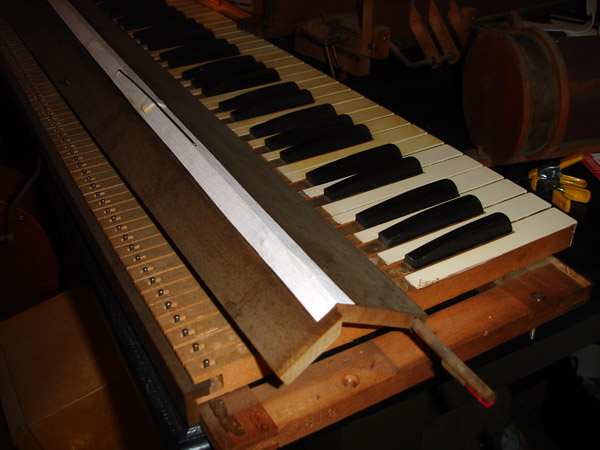
Getting ready to re-attach the keyplate holddown. Thus completing the reassembly of the functional portions. It should now, theoretically, play.
A few many minutes later after trying to remember how the cabinet went back together and "music" is heard.
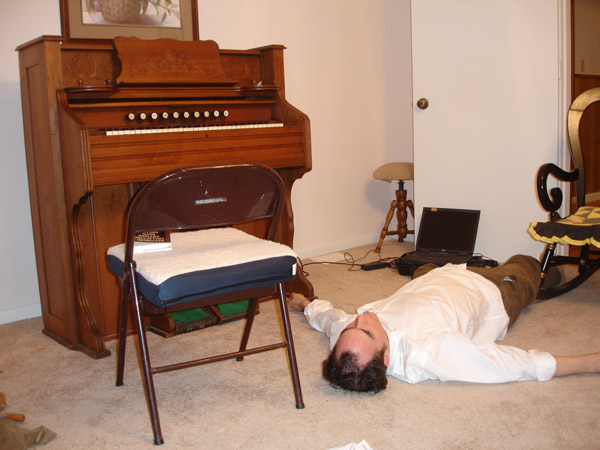
Organ kills. It's been a long night.
The morning after. Like nothing ever happened.
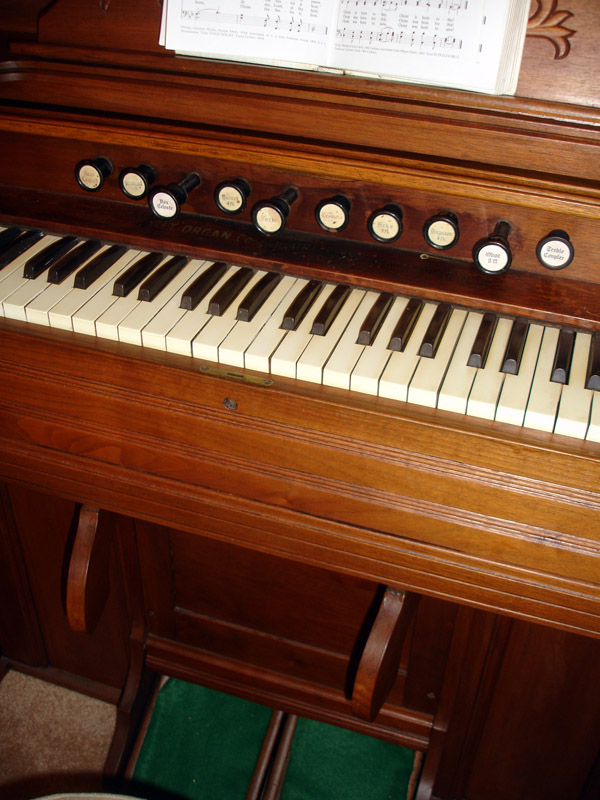
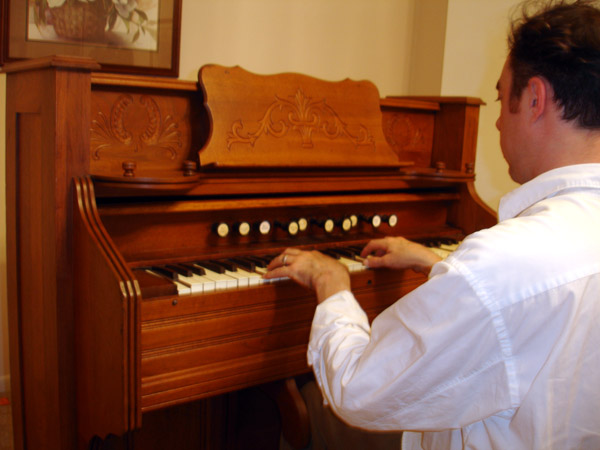
And in conclusion, a summery of the controls. The stops from bass to treble are: Bass Coupler, Principal 4ft, Vox Celeste, Dulcet 8ft, Forte, Tremolo, Echo 8ft, Diapason 8ft, Oboe 8ft, Treble Coupler. The left hand paddle below engages both bass and treble couplers, and the right hand paddle opens up both front and back dampers, making the volume increase. There were three labels missing and Shannon affected the right font and suitably antiqued the paper to blend. We were in a quandary as to what the plates originally said. Long story short, her ample research lead to creativity.
The couplers, as implied, couple center keyboard keys with their octave counterparts and create a fuller sound. The two center knobs separate the bass and treble voices. "Forte" opens the front damper and increases the volume slightly. "Tremolo" engages the "Vox Humana" windmill and creates a subtle tremolo effect by pulsing the air being drawn into the rear treble reeds. Thus it is only effective when those reeds are un-muted, this being the "Oboe" On the treble end, "Echo" is the quietest, opening the front treble mute slightly. "Diapason 8ft" opens the front damper completely and is that much louder than "Echo". "Oboe" opens both front and rear mutes all the way and thereby makes the greatest sound. On the bass side is a similar progression. "Principal 4ft" is the rear reeds open, and these are treble pitched. "Dulcet 8ft" is the front mute slightly open. "Vox Celeste" is front and back mutes both fully open.
Some of the stops negate the others. If "Oboe" and "Vox Celeste" are both open then the other two stops for treble and bass are non-operative. "Forte" is inoperative if the right hand paddle is engaged. So "pulling out all the stops" on this instrument would be "Oboe", "Vox Celeste" out and both paddles engaged. It's quite an odd playing posture while pumping the peddles, I can tell you that.
Watch this space for the restoration of my long-suffering "Missionary's Organ" or as I have recently come to understand is know as a Melodeon.
+++++